
If you’re not starting seeds indoors for your garden you’re missing out on a fun and rewarding activity, one that you can do while it’s still blustery outdoors. When you start your own seeds you’re not limited to what the local garden centers have to offer and you can experiment with some vegetables or flowers that you think would be right for your garden.
After a few years of trial and error, I’ve come up with what I’d like to think of as a no-fail seed starting method. I know, a promise not to fail at a gardening endeavor is kind of risky. But I think if you try this method you should have a great deal more success germinating seeds than you would with other methods, such as putting the seeds in a “sunny window.”
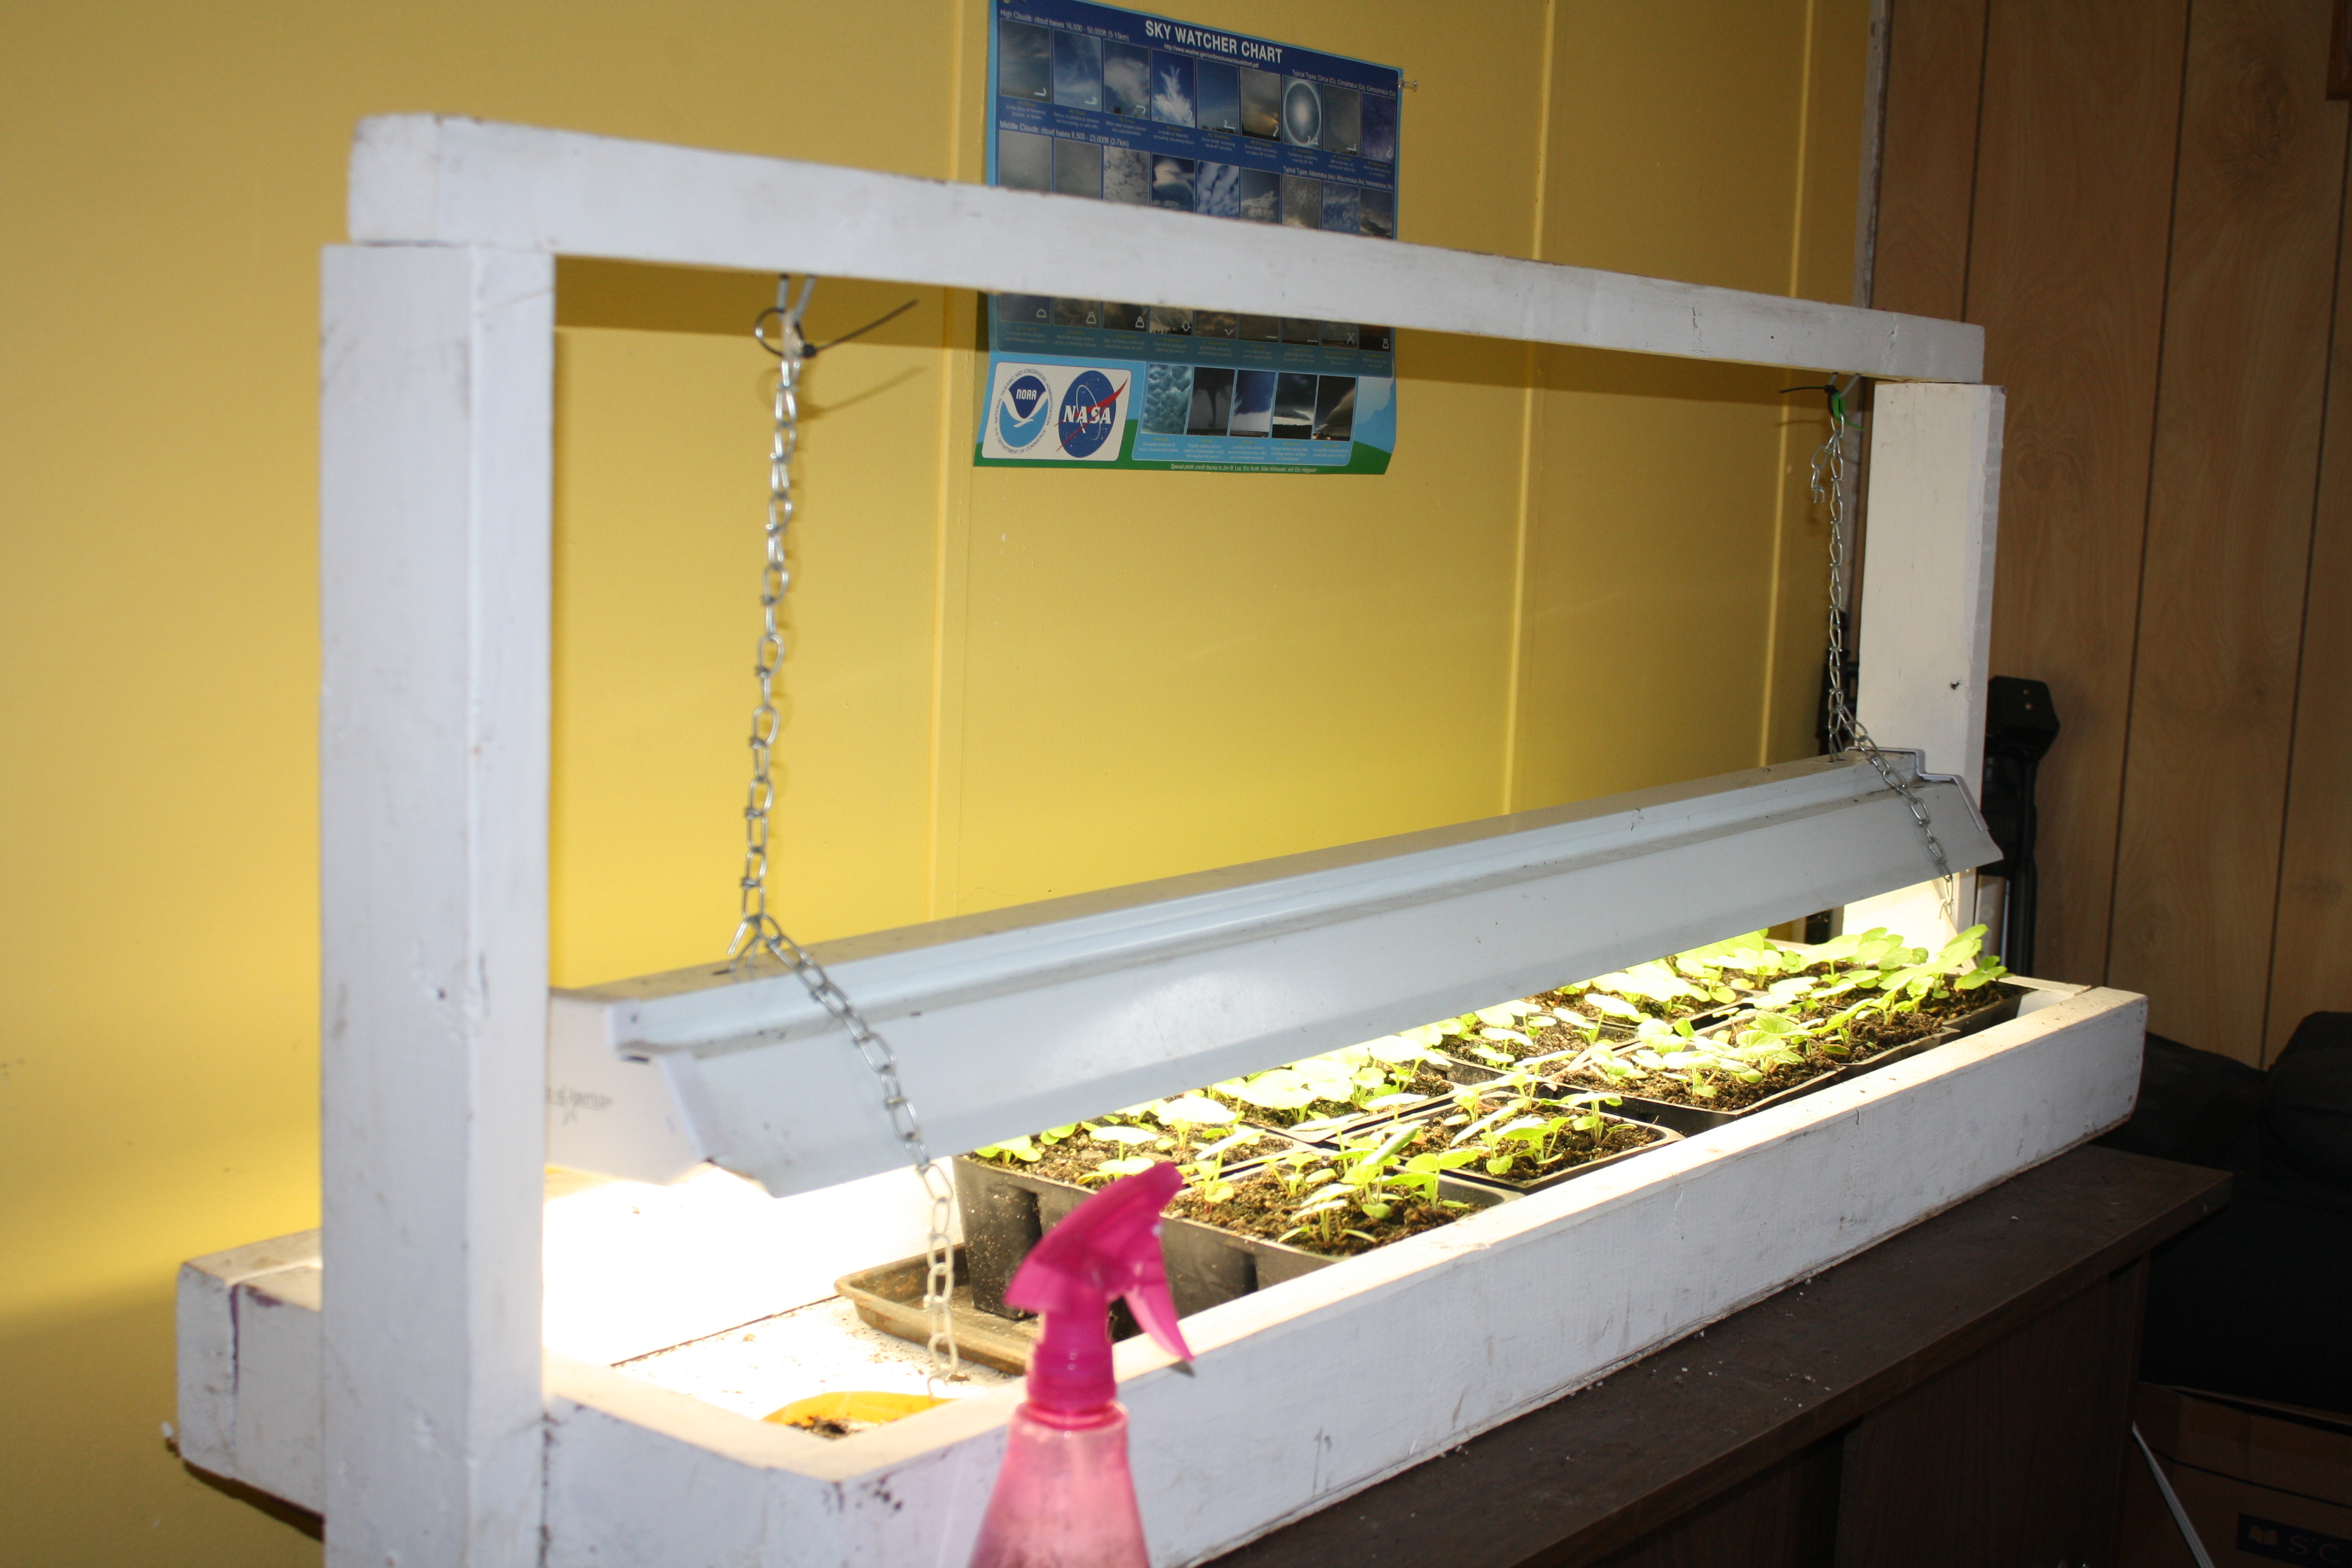
My seed starting operation utilizes a four-foot shop light that is suspended over the top of a heat mat and germination tray with a plastic dome over top. This is the cheapest way I’ve found to set up a no-fail seed starting operation. How cheap? Less than $100 using fluorescent light, under $200 with an LED.
Step 1: Build a frame using the materials mentioned above to suspend a shop light over the plants. Assemble the frame by using 2-2 X 4’s, 52” long, and 2, 12” wide. The finished frame should measure 15” wide by 52” long. Nail or screw the plywood to the 2 X 4 framing. Screw the vertical 2 X 4’s, each 20” long, to each side of the frame. Now screw the 52” 2 X 2 that the light is suspended by to the vertical 2 X 4’s and suspend the chain on either side, about 8” in from the ends to hang the shoplight from.
Step 2: Moisten the seed starting mix by adding one part water to three parts germination mix. The mix should be moist but not dripping wet.
Step 3: Fill the shallow container(s) with the mix, tamping it lightly to firm it in.
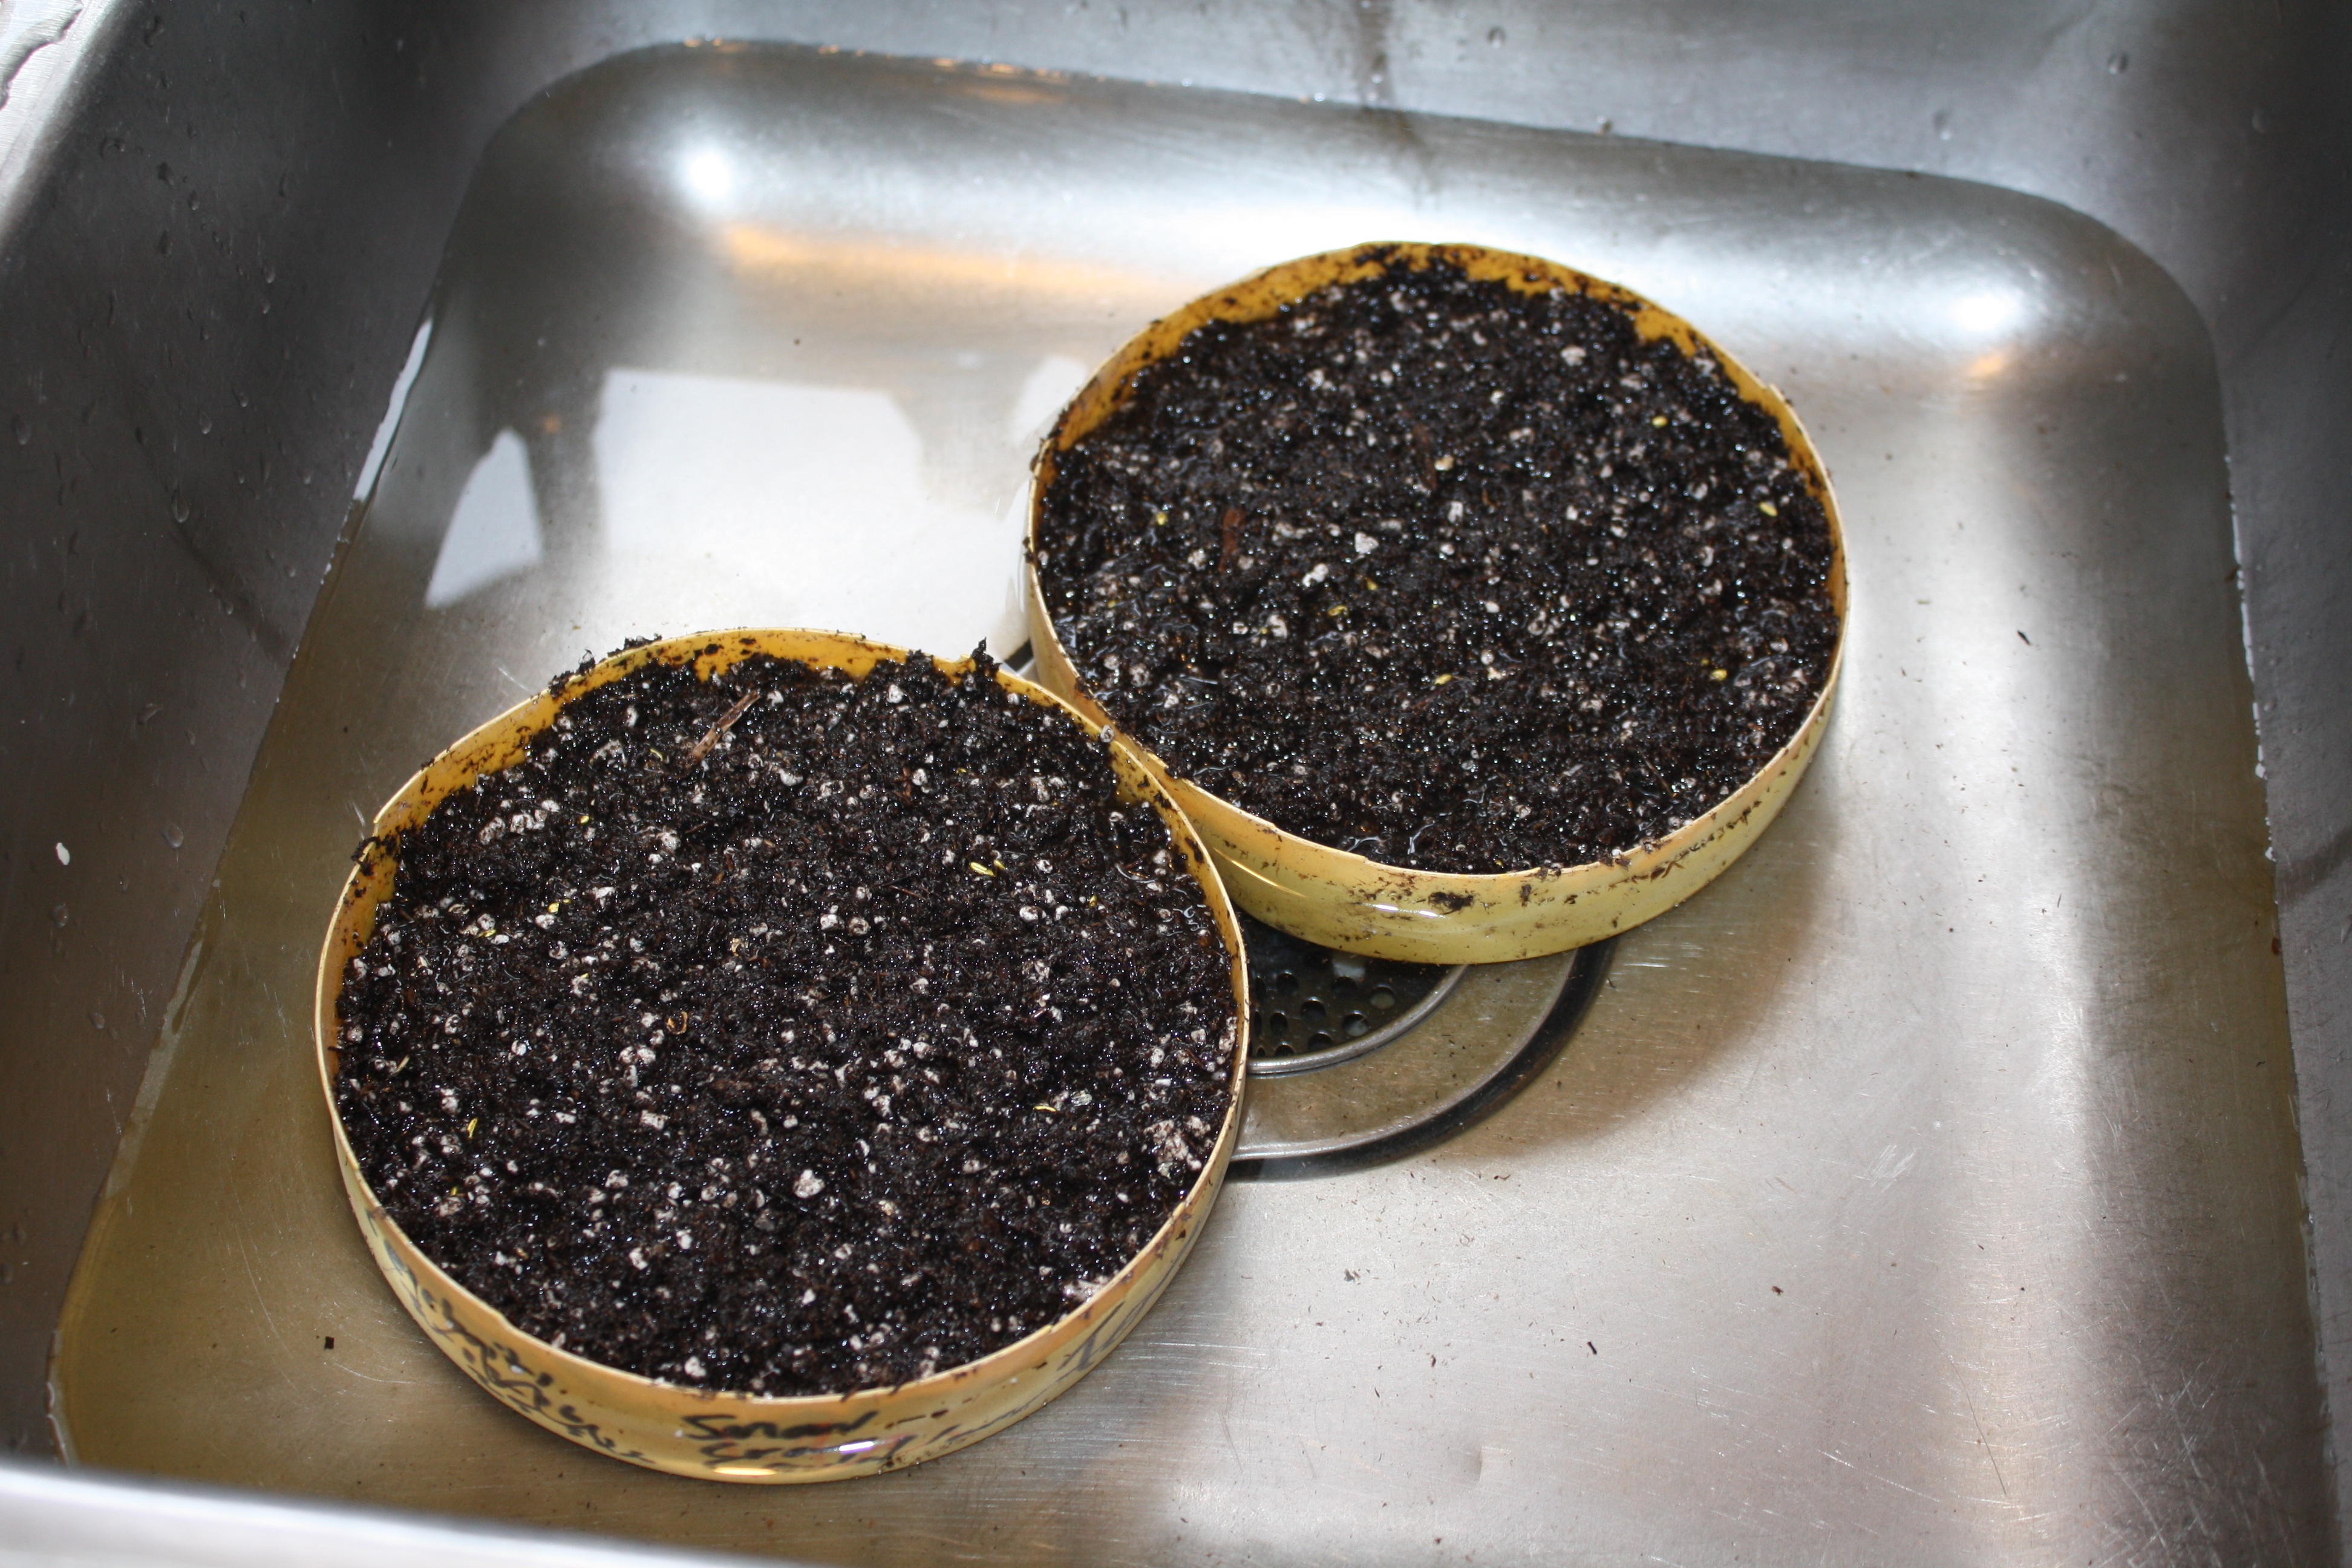
Step 4: Plant the seeds of your favorite vegetables or flowers, following the recommendations for planting depth. Seeds can be spaced fairly close since they’re going to be transplanted after they get their true leaves. Firm the seeds in nicely to ensure good contact with the growing medium.
Step 5: Place your heat mat inside the frame and put a cookie sheet over the heat mat to ensure that the mix is not getting too hot, which will cause it to dry out.
Step 6: Place a clear dome over the tray(s) and place on the heat pad.
Step 7: It is critical that the germination mix stays moist, but not soggy during the germination phase. Spritz with water once or twice daily and bottom water with room temperature water about every three days.
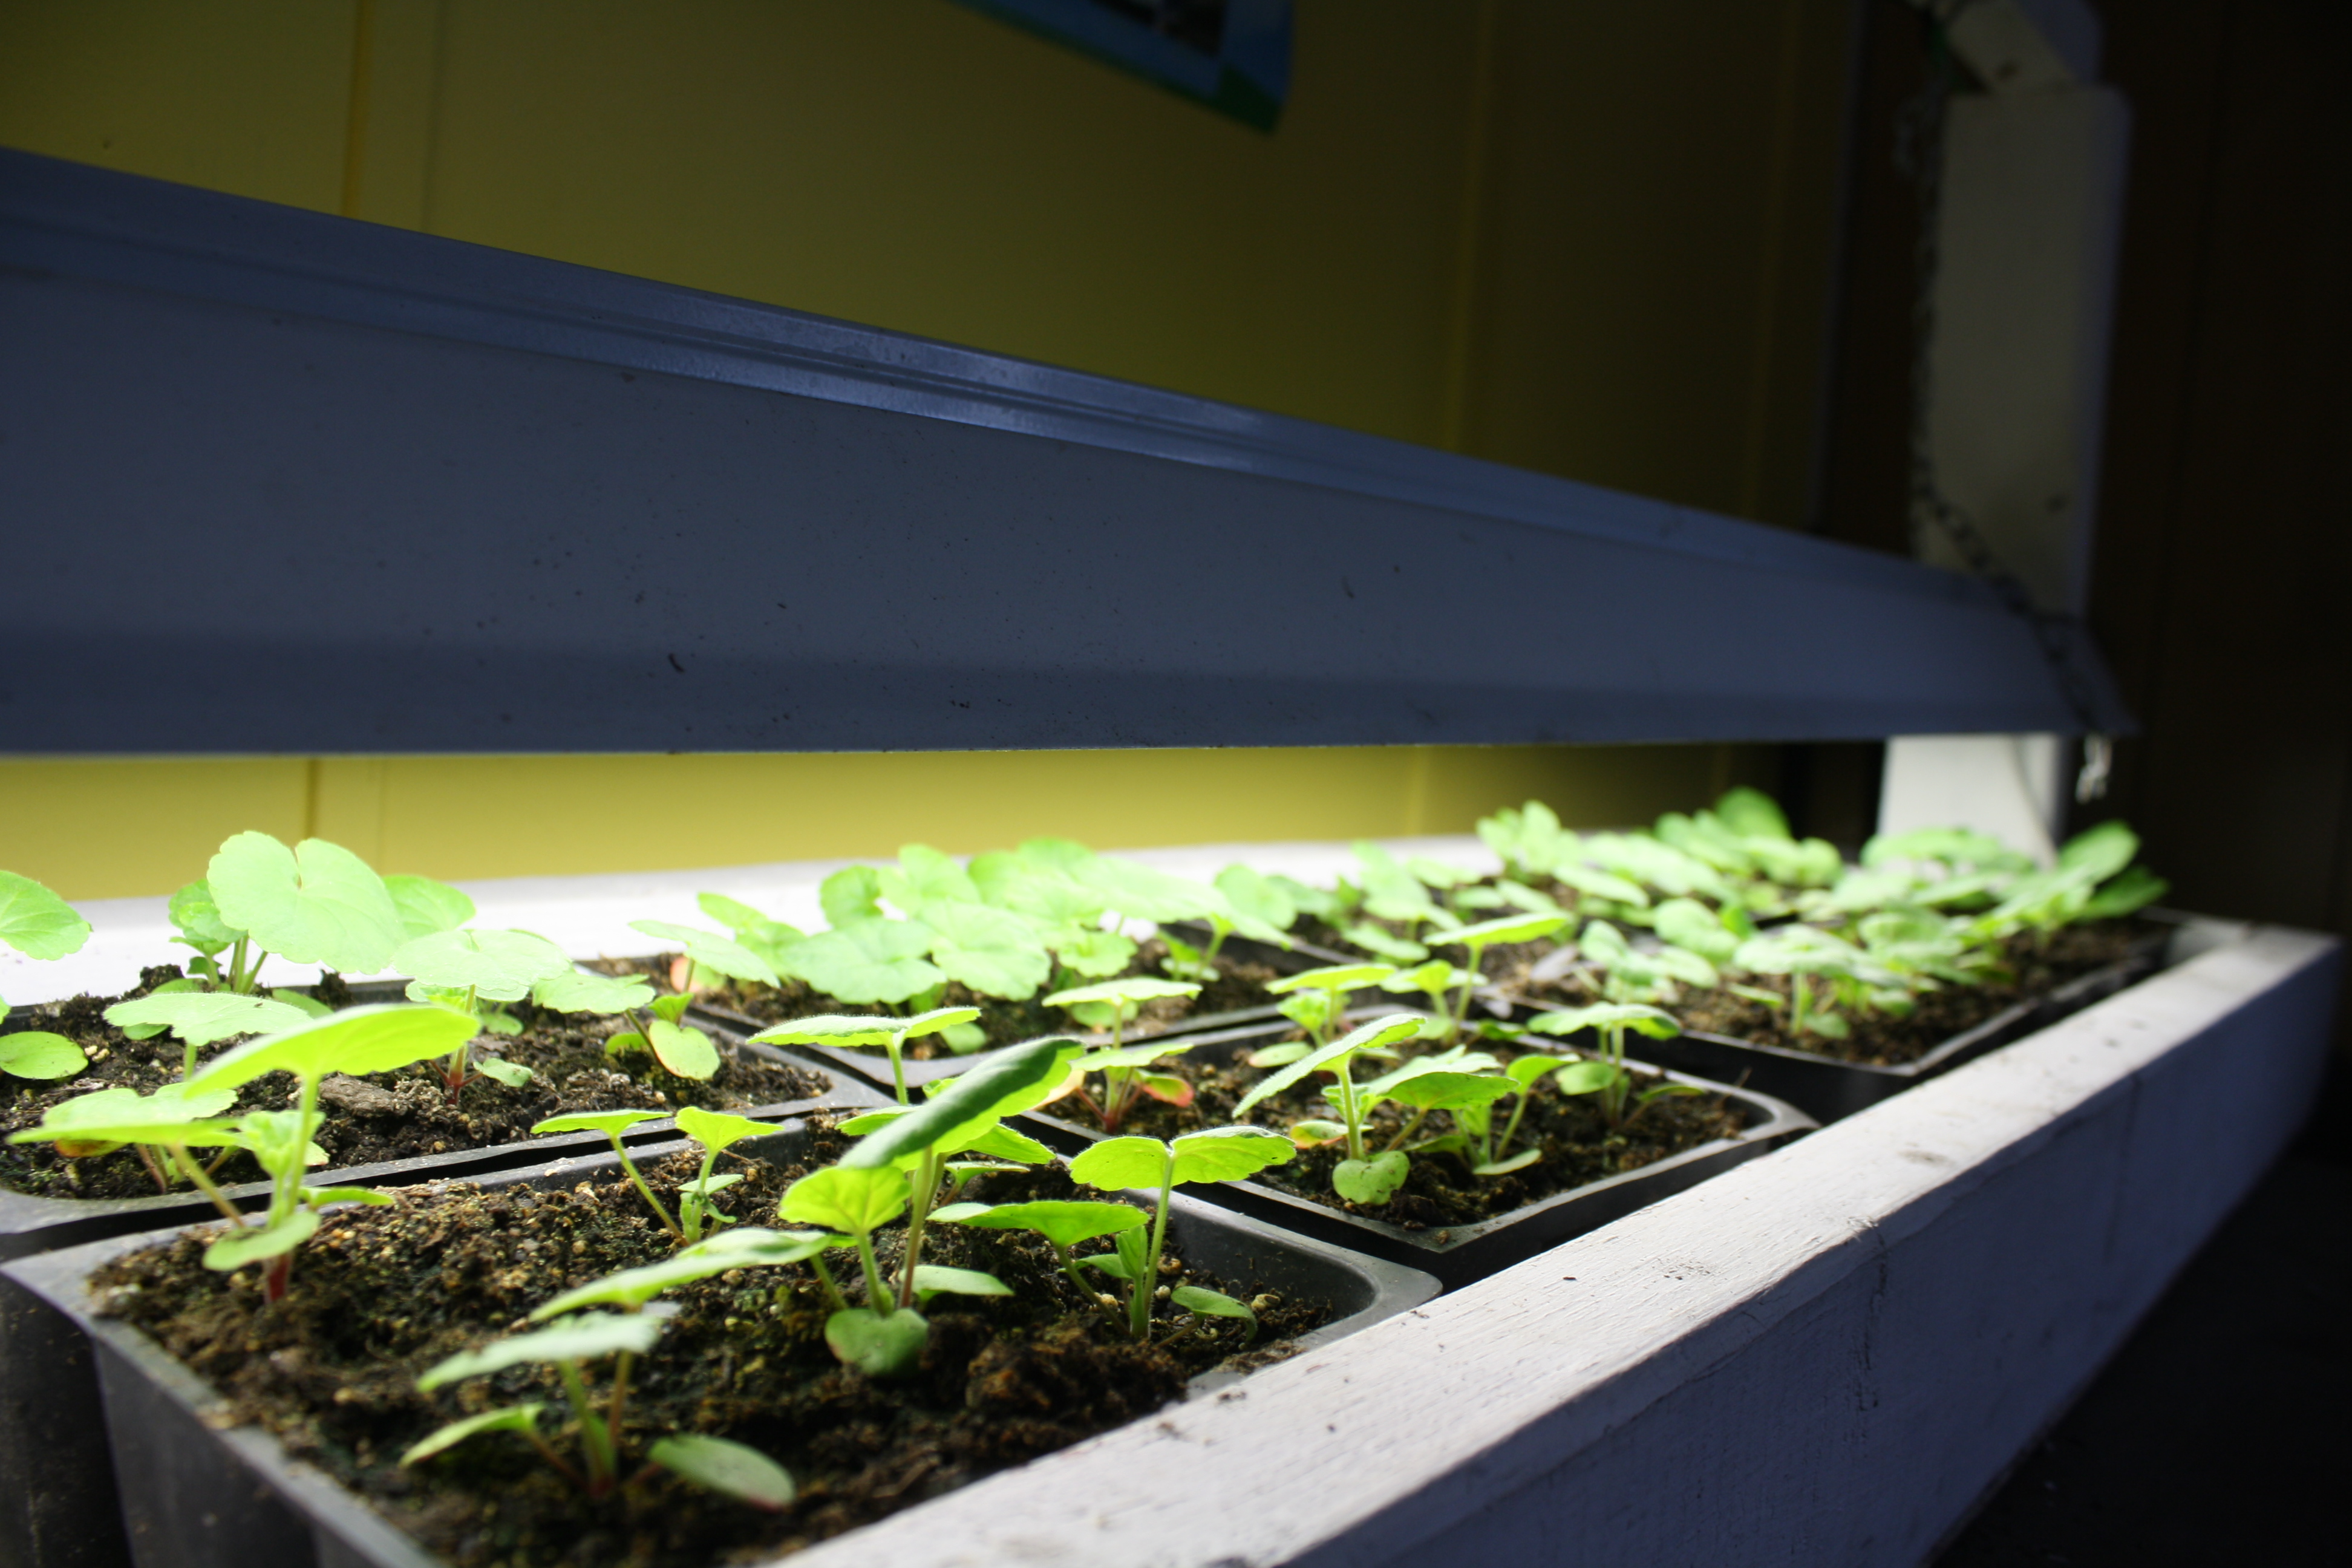
Step 8: When the seed leaves (cotyledons) begin to appear and it looks like most of the seeds have germinated, transplant them to the 11” X 22” covered tray by gently lifting the seedlings out of the mix by grabbing hold of the leaves. I usually use a popsicle stick to loosen the roots underneath while pulling upward on the seedling.
Step 9: Lower the fluorescent light within about 4” of the transplanted seedlings. LEDs need only be lowered to about a foot to 18 in. Start a regimen where you bottom water in one of those large totes (or a bathtub if you clean up after yourself!) using room temperature water. Place back over the heat mat and don’t water again until the mixture has dried out slightly. This causes the roots to expand, which is what you want. Fertilize with a weak solution of soluble fertilizer or seed starting fertilizer each time you water. I usually use Jobes liquid fertilizer at half strength.
Step 10: When the plants have developed a nice root system and look big enough to be moved outdoors, they will need to be hardened off by placing them outside for a few hours. Be sure to protect them from any downpours which would damage them. I have a small greenhouse I can move them to until I can actually get them in the ground. A lean-to covering of any type (window, plastic, etc.) works as well.
Timing is everything
Different plants need to be started at different times indoors. It’s almost better to plant a little later than to have huge plants that are starting to stretch, which makes them harder to transplant in the garden. I usually plant no earlier than the middle of March, however there are exceptions. Mid-March is best for most flowers, however, be sure to read the directions on the packets before planting. The first of April is fine for tomatoes and peppers and a little later for things like lettuce and cole crops, such as cabbage. Vine crops, such as pumpkin and squash I usually plant in biodegradable peat pots around the first of May just to get a little jump on the season. When they’ve developed a few leaves I set them in the ground, peat pot and all, as to not disturb the roots.
Sidebar:
Materials needed:
For frame to suspend grow light:
- Nails or screws 2 ¼ inch long
- 2-2X4 by 8’ pine lumber
- 1-2×2 by 52”
- 15” by 52” plywood
- 1-2” X 2” X 52” pine lumber
- 2 light weight chains measuring 18” each (to suspend the shoplight)
- 48” long fluorescent shop light or a two foot long LED fixture
- Heat mat specifically for seed starting (from $25-$50)
- 11” X 22” cookie sheet
- Shallow (1/1/2 inch deep) container for germinating seed with holes in the bottom for drainage
- Seed starting tray with dome (you can find these in most garden sections)
- Brand name germination mix such as Sun-Gro, Pro-mix, Bacto or Burpees (not potting soil)
- Plastic flats or pots to transplant the plants into after they’ve developed true leaves